Shootings और call sheets
Shootings tab वह जगह है जहाँ आप actual production days plan करते हैं और cast को logistics communicate करते हैं। जब shooting schedule हो जाती है और cast confirm हो जाती है, तो आप call sheet भेजते हैं — वह official document जो हर booked talent को बताता है कि उन्हें कहाँ और कब होना है।
Shooting जोड़ें
- अपना project खोलें और Shootings tab select करें।
- ऊपर-दाईं तरफ + Add Shooting click करें।
- Shooting का नाम, location, dates, और किन roles या talents की ज़रूरत है, भरें।
- Save करें। Shooting Scheduled status के साथ list में दिखेगी।
Shooting statuses को समझें
| Status | अर्थ |
|---|---|
| Scheduled | Dates confirm हो गई हैं; cast assemble हो रही है। |
| Needs attention | कुछ तैयार नहीं है — उदाहरण के लिए, सभी required roles में confirmed talent नहीं है, या call sheet नहीं भेजी गई। |
| Done | Shoot हो चुकी है। |
Filter tabs — All, Scheduled, Needs attention, Done — एक group पर focus करने देते हैं।
Cast track करें
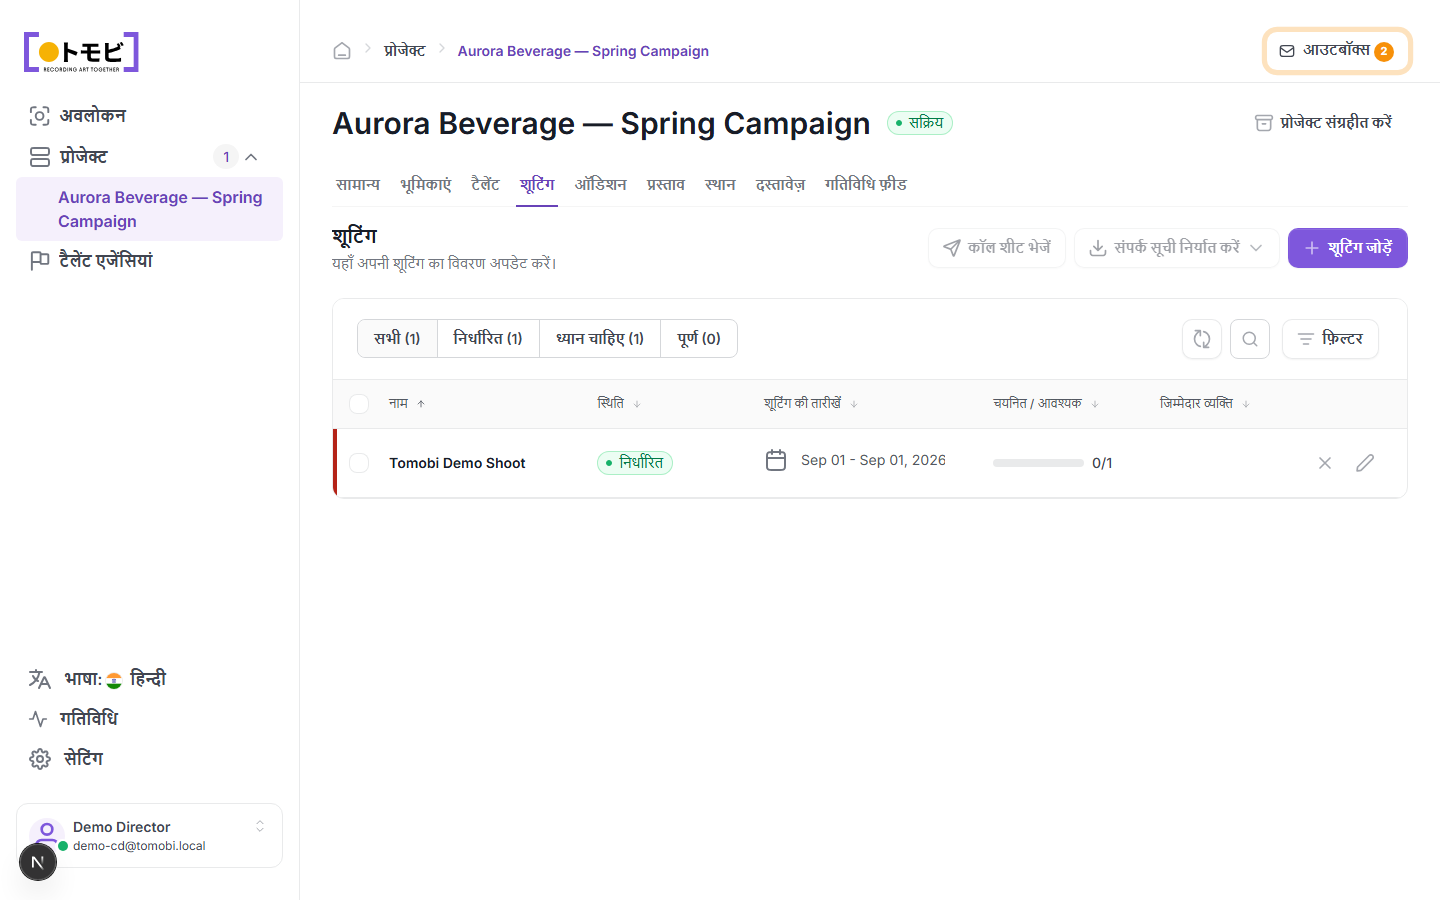
Cast / Required column दिखाता है कि हर shooting के लिए ज़रूरी संख्या के विरुद्ध कितने talents confirm हुए हैं। ऊपर के उदाहरण में, "Tomobi Demo Shoot" 0/1 दिखाता है — एक talent slot अभी भी खाली है।
Call sheet भेजें
जब आप cast को shoot details communicate करने के लिए तैयार हों, तो table के ऊपर toolbar से Send call sheet चुनें। Call sheet आपके review के लिए outbox में draft होती है, भेजे जाने से पहले। यह इस shooting के सभी booked talents की agencies को जाती है।
अगर Send call sheet button greyed out है, तो आपको पहले cast confirm करना होगा — call sheet भेजे जाने से पहले सभी required talent slots fill होने चाहिए।
Call list export करें
सभी booked talents, उनकी contact details, और उनके call times की spreadsheet download करने के लिए Export call list चुनें। यह on-set coordination के लिए उपयोगी है जब आपको printed या offline copy चाहिए।
Shooting edit या remove करें
Shooting की details edit करने के लिए shooting row पर pencil icon click करें। Delete करने के लिए X icon click करें। Deletion undone नहीं किया जा सकता।